为你的 WordPress 小工具创建表单
内容纲要
在本系列教程的前三部分,你已经开始创建你的WordPress小工具。在这一部分,我将向你展示如何为你的WordPress小工具创建表单,确保WordPress能够在上面进行任何的设置更新。
这意味着你要为Tutsplus_List_Pages_Widget类编写两个函数:form函数和update函数。
你需要做的是
跟随本教程,你需要:
-
安装一个WordPress开发环境
-
一个代码编辑器
-
来自前期教程“构建你的 WordPress 小工具”中的相关代码
创建表单
要为你的小工具创建表单,你需要填充已经添加Tutsplus_List_Pages_ Widget 类中的form函数。
打开你的插件,找到form函数,编写如下:
function form( $instance ) {
    $defaults = array(
        'depth' => '-1'
    );
    $depth = $instance[ 'depth' ];
    // markup for form ?>
    <p>
        <label for="<?php echo $this->get_field_id( 'depth' ); ?>">Depth of list:</label>
        <input class="widefat" type="text" id="<?php echo $this->get_field_id( 'depth' ); ?>" name="<?php echo $this->get_field_name( 'depth' ); ?>" value="<?php echo esc_attr( $depth ); ?>">
    </p>
<?php}
以上代码添加了字段标记,包括一个输入字段($depth),用来设定列表下的页面层次结构。默认值为-1,表示将会显示所有层次。
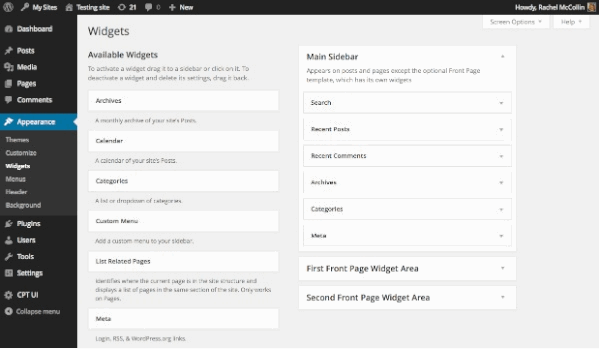
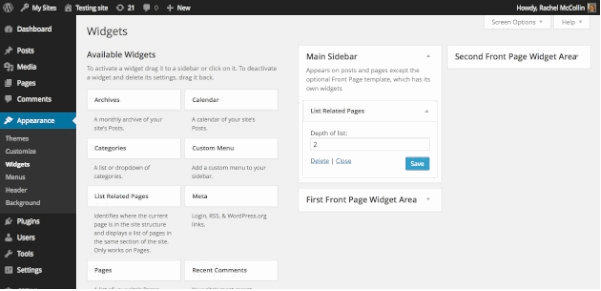
现在保存你的插件。你会发现WordPress小工具出现了一个表单:

然而,如果你尝试在其中输入一些内容,它不会被保存下来。因此你需要进一步完善让这个表单能保存你所输入的内容。
允许表单更新
要做到这一点你需要处理之前创建的update函数。编码如下:
function update( $new_instance, $old_instance ) {
    $instance = $old_instance;
    $instance[ 'depth' ] = strip_tags( $new_instance[ 'depth' ] );
    return $instance;
}
上述代码用新值($new_instance)代替了depth字段的旧值($old_instance),并采用strip_tags进行消毒。现在你可以在其中进行任意的输入并保存了:
小结
现在你终于为你的WordPress小工具创建了一个工作表单,可以说一切都准备就绪了,那么下一步就是在网站上显示你的WordPress小工具啦!
本文转自:https://www.wpdaxue.com/building-the-form-for-your-wordpress-widget.html